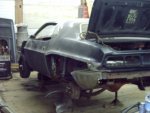
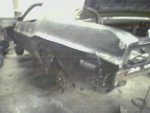
Miss me? Try working on your aim...

The day began with the seemingly ritualistic task of inventorying all the parts I had ordered. So far so good.
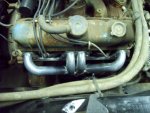
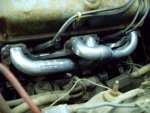
I started out working on the headers I got from Nodda. I was able to fix the port gasket surface problem with an angle grinder and a flat hand file. They look fine and shouldn't give me any problems now. The old exhaust manifolds came off ok with the exception of a stud that broke off when I tried to remove it on the passenger side head. I need to get some header bolts before I can mount them up permenently. The passenger side looks like either I'll have to make a sharp 90 turn back to clear the idler arm or drop it straight down and go between the centerlink and K-frame. Dunno yet? I may have to use a remote mount oil filter setup if I do turn the exhaust pipe straight back though. Anyone had any luck with those remote adapter thingys?
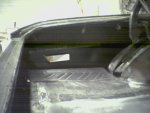
Next we were working on the trunk drop offs. I got them prepped so Mark could just weld them in place. The driver side drop off is now fully welded to the trunk floor and tail panel. The other one will get put on after we start working on the pass side mini-tub job.
Mark welded the left inner fender braces back in place and reinforced the tack welds that were put on earlier. So far so good here. Tomorrow the driver side quarter panel and the outer wheel house will finally be going on.

BTW: The quarter panel on the driver side had already been trimmed just above the mid body line. I would have needed it to still be full size to be able to pull the quarter panel out the extra 1" for tire clearance. Maybe next time...
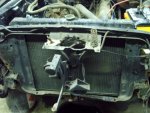
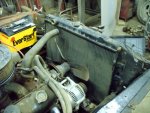
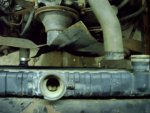
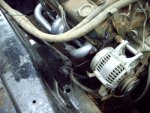
Mark had to take off for church so I kept on working on the engine bay. I removed the old, tiny, tired, falling apart, wouldn't keep a 2.2 from overheating radiator and stuck a huge newer one out of a Dodge van in it's place. The radiator opening in the support actually covers about 1.5"-2" on each side of the core. The mounting flanges fit against the rad support nice and close so I just drilled two holes on each side and used some self tapping screws to secure it in place. The radiator hoses line up perfectly but the upper hose had been trimmed back at some point and won't reach as a result. I'll need to get a new one of those. The lower rad hose fits fine. The trans cooler lines use a barb type fitting instead of a screw in flare type like the old one. I can just cut the ends off the lines and use some short pieces of rubber hose and some clamps to connect them. Simple enough.
The mini alternator was next on the list and it looks like it was fairly simple to mount up. I just had to move the spacers around to get the pullys to line up. Does any one here know if the 2 extra big ground wires are needed or can I just toss em?
Well, that concludes today's episode of "As The Wrench Turns". Tune in tomorrow when the batteries for the digi-cam are charged and I can actually take some pics of all the new progress so far.
EDIT: Added some radiator pics
