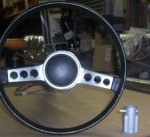
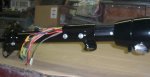
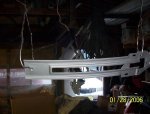
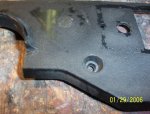
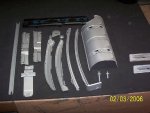
RUSTY Cuda said:Took some of the steering column apart, might need some help on this later on, but got some of the parts cleaned up. Rich.
This might help if you plan on taking it all apart.
http://www.moparnuts.com/forums/showthread.php?p=105879
RUSTY Cuda said:Took some of the steering column apart, might need some help on this later on, but got some of the parts cleaned up. Rich.
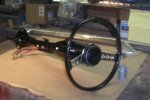
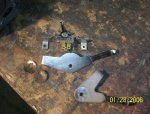
 & glued the turn signal handle back on for now. this might actually be a five footer, only minor defects!
  Rich.
Rich.
")
 Rich.
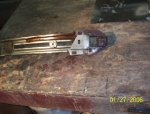
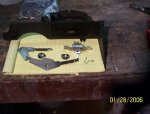
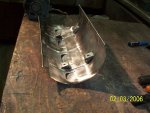
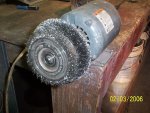
Rich.") My wife gets mad at me because I steal them from the jewelry store :toot: They are intended for polishing jewelry but will polish many other metals :giggedy: remember when you get ready to install it you will need the bolts and washers in this pic, (red loctite too)
My wife gets mad at me because I steal them from the jewelry store :toot: They are intended for polishing jewelry but will polish many other metals :giggedy: remember when you get ready to install it you will need the bolts and washers in this pic, (red loctite too)
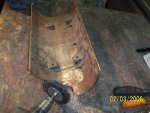
 hell if I were you it might make sense to just get another windage tray with it and have a spare :toot: It is a little more involved putting a windage tray on a small block, big block is just a tray and another gasket :giggedy: , well after recieving the part .......... well pffffft, that aint rust, I guess he forgot who he sent it too, :toot: , I would clasify it as slightly tarnished!