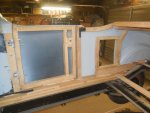
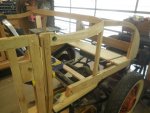
What are you working on?

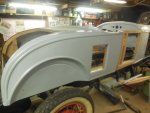
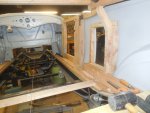
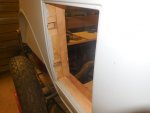
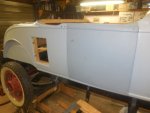
Fall is in the air and it's time to get back on the '29 Oakland project. Work had kind of stalled because I don't have any old structure to use as patterns to make the new. As luck would have it, Mark found a Original 1930 Oakland Roadster that he couldn't live with out and just like that, my patters have arrived!

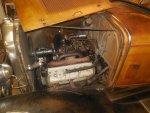
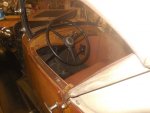
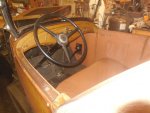
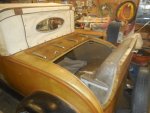
This car is wearing her original paint, interior, and V8 engine! Yes V8. 1930 was the first year for that option. The only nonoriginal part is the top. This car is cool and a blast to drive!
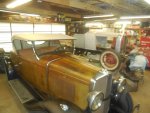
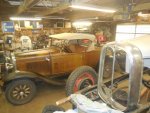
DSCN2806 resize.JPGDSCN2807 resize.JPGDSCN2808 resize.JPGDSCN2809 resize.JPGDSCN2810 resize.JPGDSCN2811 resize.JPG
 
WOW!!!!
What a jewel that is!

I frigging love it! :)

V8, convertible, and a heater. It didn't get much better than that.
Love the shield in front of the carb, for those days when the heater was needed. ;)
 
I frigging love it! :)

V8, convertible, and a heater. It didn't get much better than that.
Love the shield in front of the carb, for those days when the heater was needed. ;)

I knew you would love it. Nice job noticing the heater. It uses heat from the exhaust manifold. Also great job noticing the carb shield. They all had them. They are ALWAYS missing.

all original ..what a time capsule, so...how are you going to extract templates?

I had enough of the original wood to make the main body structure on the '29. What was gone was the floor. I mostly need this car to know how wide the floor is, Where the front seat is supposed to sit, how the rumble seat area goes together and things of that nature. All of the brackets for the rumble seat were in a box and there was a crude 2x4 support structure holding the body up.
 
I knew you would love it. Nice job noticing the heater. It uses heat from the exhaust manifold. Also great job noticing the carb shield. They all had them. They are ALWAYS missing.


I had enough of the original wood to make the main body structure on the '29. What was gone was the floor. I mostly need this car to know how wide the floor is, Where the front seat is supposed to sit, how the rumble seat area goes together and things of that nature. All of the brackets for the rumble seat were in a box and there was a crude 2x4 support structure holding the body up.

Lets get ready to Ruuuuuummmmmmmbbbbbbblllllllle! :)
There's nothing like un-touched original for copying and referencing. All the books and pictures in the world can't even come close.
I'm jealous as all get out that I'm not there to ooggle that car with you. That is my Happy Place, doing stuff like that! I soak that stuff up like a sponge!

An old friend here in town - since passed - had his maiden Aunt's '29 Chevrolet. She bought it brand new and left it to him in 1962. Except for maintenance work, it was completely original, right down to the first scratch she put on it backing it into her garage in 1929. It was beautiful.
My friend thought many times about restoring it, or at least giving it a re-paint, but could never bring himself to do it. Said it reminded him of her every time he looked at the car, and all the memories of his childhood.
He sold it to a fellow in Sweden in '03 or '04 and it got a pretty comprehensive restoration. I saw the pictures a few years ago. It looked like a very nice job, but it wasn't the same Ol' Sophie. It was just another '29 Chevrolet...
 
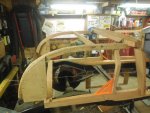
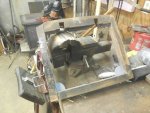
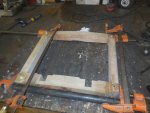
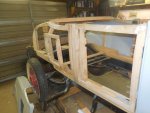
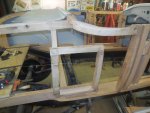
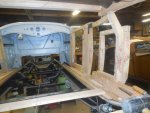
Got some carpentry done today. Its a slow slow process. Lots of temporary assembly, fitting and disassembly then reassembly.

DSCN2826 resize.JPGDSCN2827 resize.JPGDSCN2828 resize.JPGDSCN2829 resize.JPG
 
I have been spending a good amount of time on the Oakland again but I haven't had much visible progress to post. Most of what I have been doing is sanding and trimming and re measuring the body frame work to make the Body panels fit. Today however, I made the golf club door frame and the golf club door.

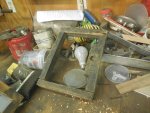
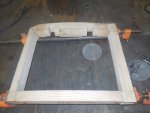
Here are a few pictures of the original frame and door and the ones I made and dowel pined together.

DSCN2857 resize.JPGDSCN2856 resize.JPGDSCN2843 resize.JPGDSCN2844 resize.JPGDSCN2855 resize.JPG
 
I finally have some noticeable progress on the Oakland. I figured out the placement and length of the rear body mount rails, the door striker pillars, the golf club door frame is mounted, the right side wood is shaped and the quarter is fit. The right side quarter is nearly fit and after that it's on to creating the wood for the back of the car and the floors.

DSCN2896 resize.JPGDSCN2897 resize.JPGDSCN2897 resize.JPGDSCN2898 resize.JPGDSCN2899 resize.JPGDSCN2900 resize.JPGDSCN2901 resize.JPGDSCN2902 resize.JPGDSCN2903 resize.JPGDSCN2904 resize.JPG
 
Last edited:
Mr. Stretch, I am impressed by your carpentry skills. I'm going to have to come up with more royal parking in the spring. :clap:
 
Mr. Stretch, I am impressed by your carpentry skills.. :clap:

Thanks but I don't know that I have any real "carpentry skills". I'm just copying what the men who built this car did. Its really just trace, cut sand, temporarily screw it together, test fit, sand some more, test fit, sand, test fit, sand, you get the idea.

As far as taking on this project, I have never really been afraid of a challenge and when I was talking about doing it, most people told me there was no way I could do it. The only two people who told me I could were my Dad and my wife, and I'm not so sure they thought I would either. I will admit that there is no way in hell I would be this far along on it if I didn't have the other car to look at and reference.

I'm just fortunate to get to work on this stuff and have had a father and grandfather who loved wood working. Those two made sure that my brother and I knew how to use the tools in their shops. I'm also very fortunate to have a wife who understands my need to be in the garage doing this kind of stuff.

I sure hope none of you think I post these pictures to brag. I only post them because I'm under the impression most of you like to see it even though it's not Mopar related. I also like to be able to pick Restomans brain time to time.
 
..... trace, cut sand, temporarily screw it together, test fit, sand some more, test fit, sand, test fit, sand,....

You just described perfectionism, a rare trait in any trade today. Too many have the "close enough" attitude.
 
You just described perfectionism, a rare trait in any trade today. Too many have the "close enough" attitude.
Yup.
A big part of any resto work is attention to detail and knowing in your head what the final product will be like. The fitting and re-fitting, over and over and over again, gets you there. I used to tell people "I use wingnuts in all my builds." Only folks who have ever done it actually got the joke. :)
It's looking fantastic! :)
 
Very humble Stretch, I appreciate that as much as looking at the work that you do, which is great!

It's very difficult for me to accept the compliments that I receive at work, because all I see are the faults and mistakes in the finished product. That just pushes me to try a little harder the next go 'round.

One day I'll be working on the pile in my back yard, hopefully it'll go smoother than my attempts with previous projects.
 
I enjoy the pictures and the descriptions.

I don’t often post a response because I’m usually at a loss for words.
 

SiteLock

SiteLock
Back
Top