You are using an out of date browser. It may not display this or other websites correctly.
You should upgrade or use an alternative browser.
You should upgrade or use an alternative browser.
What are you working on?
- Thread starter Stretch
- Start date
restoman
The paint fumes have cleared so I'm
Yup...I have no idea. I never asked. I'm guessing its not cheep though. As I'm finding out, most of this stuff is custom made and you get what you pay for.
thrashingcows
Drowning deep in my sea of loathing...so I'm
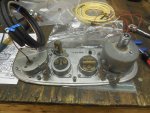
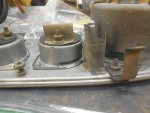
The back lit gauge system also lights up the whole rear of the dash....for easy diagnoses if required to be under there.  The "Dim and Dimmer" switch.....like it!
Stretch
Hey! There’s no easy button for a body like this!
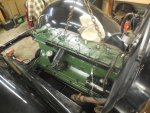
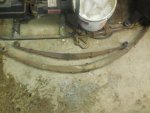
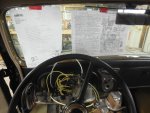
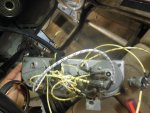
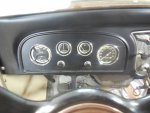
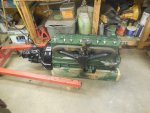
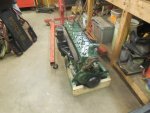
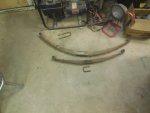
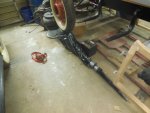
I finished up the dash wiring today, got most of the rest of the wiring done. I just need to wire in the headlights and front marker lights (I'm waiting on the LED headlight conversion and the chrome parts to return from the chroming shop). I received the rebuilt engine, transmission and rear diff center section. Then I got it up on stands and removed one front spring and one rear spring. I'll be dropping them off at Michigan Wisconsin Spring & Brake so they can be used as patterns for a new set.


thrashingcows
Drowning deep in my sea of loathing...so I'm
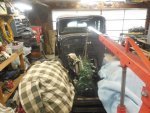
Did you have some ballast on that crane....those inline flat heads, 6 and 8's are not light motors.
68R/T
I got drunk and swallowed my teeth, now
Did you have some ballast on that crane....those inline flat heads, 6 and 8's are not light motors.
He stood on the other end. [smilie=g:
thrashingcows
Drowning deep in my sea of loathing...so I'm
He stood on the other end. [smilie=g:[/QUOTE]
That's what I had to do with the flat 6 in the Desoto.....even then it still tipped forward when trying to get it in place.
Stretch
Hey! There’s no easy button for a body like this!
Did you have some ballast on that crane....those inline flat heads, 6 and 8's are not light motors.
He stood on the other end. [smilie=g:[/QUOTE]
I have in the past but did not need to with this one.
Stretch
Hey! There’s no easy button for a body like this!
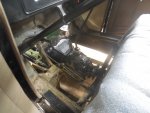
I got the engine bolted down. I had to remove the transmission from the bell housing to install it. I did that for two reasons, the first is it just wont go in the car with it on the bell. It makes the assembly to long to be able to swing it in without removing the steering column and the clutch and brake pedals. The other is, by taking the trans off of the engine I don't have to remove the shifter to install it.
After the engine was set in place I just grabbed the transmission buy the shifter, carried it into the car through the passenger side door and slid it in from above. This is really the only way to do it anyway. The cross member does not come out of the frame and the transmission sits above that cross member.
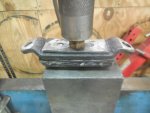
Next I had to repair the transmission mount. The rubber in the mount was oil soaked and completely deteriorated. There is no buying a transmission mount for a 1933 Pontiac no matter how good your parts guy is. I had to fix what I have so I drilled out the rivets, removed the junk soft rubber, cut some rubber out of some old belting we found at the local welding shop, and welded the mount back together.


Dr.Jass
Pastor of Muppets
You never even asked.There is no buying a transmission mount for a 1933 Pontiac no matter how good your parts guy is.
:bwuhaha:
Sad thing is, there probably was one upstairs in that parts hoard at LaFreniere's. They threw out tons of stuff dating all the way back after Murray ran it into the ground. No one could be bothered to figure out what any of it was, other than by eyeballing: "Yes, this is definitely another WS6 snowflake" etc.
thrashingcows
Drowning deep in my sea of loathing...so I'm
Nice repair to an obsolete part....how did you cut the holes in the belting?
thrashingcows
Drowning deep in my sea of loathing...so I'm
Thanks. I used my gasket making punch set. I wish I would have taken a before picture so you could have seen just how wasted it was.
Sent from my XT1565 using Tapatalk
That must have taken a while....I know the strength of that belting.
Stretch
Hey! There’s no easy button for a body like this!
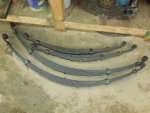
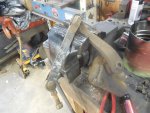
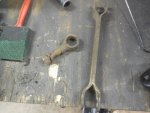
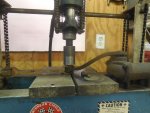
I've been busy working on the Pontiac but haven't posted many pictures so I'll take this opportunity to bring things up to date. I found shock bushings at Steel Rubber Products and had new springs made by my former employer, Michigan Wisconsin Spring and Brake. I had to press the shock bushing pins out then back in. I also had to weld up the shock arms where the bushing pin had warn into them. I installed the brake light switch and adjusted it.
I also got a box of "pretty parts" back from the chrome shop! Man did they do a nice job!
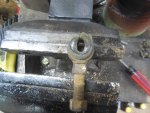

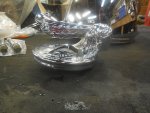
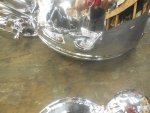

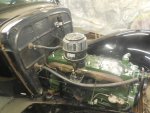
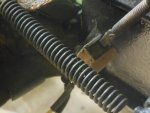
I also got a box of "pretty parts" back from the chrome shop! Man did they do a nice job!


Stretch
Hey! There’s no easy button for a body like this!
Rear gear, drive shaft, trans mount, rear springs, shocks, and diff assembled this afternoon.
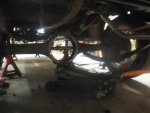
Installing the shaft started with making a gasket for the ball trunnion. I had to slide the torque tube into the output yoke then slide the gasket and truninnon ball up and bolt it down. Then I had to slide the axle housing forward on the springs lining up the studs through the center section holes. After that its just like assembling any rear diff. Notice the swank custom ring gear? The pinion and ring gears were custom made so the old girl can pull highway speeds now. Look how they used to attach the ring gear to the carrier. Rivets! That's how they did it. Interesting that the axle rolls in the castings that the u-bolts go over. The axle needs to rotate as the suspension moves up and down do to the lack of a rear u-joint. The pinion gear connects directly to the transmission joint.
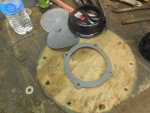
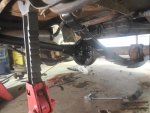

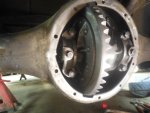

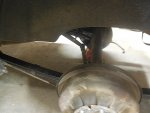

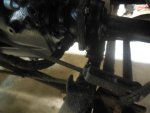
Installing the shaft started with making a gasket for the ball trunnion. I had to slide the torque tube into the output yoke then slide the gasket and truninnon ball up and bolt it down. Then I had to slide the axle housing forward on the springs lining up the studs through the center section holes. After that its just like assembling any rear diff. Notice the swank custom ring gear? The pinion and ring gears were custom made so the old girl can pull highway speeds now. Look how they used to attach the ring gear to the carrier. Rivets! That's how they did it. Interesting that the axle rolls in the castings that the u-bolts go over. The axle needs to rotate as the suspension moves up and down do to the lack of a rear u-joint. The pinion gear connects directly to the transmission joint.


thrashingcows
Drowning deep in my sea of loathing...so I'm
That's a very interesting rear set-up....especially the whole axle assembly rotating due to no rear U-joint.

